SmartTemplates in Microsoft 365
Adding and editing SmartTemplates
SmartTemplates only function in Word documents.
Go to Admin > Document Template Library.
Open an existing SmartTemplate or click Add SmartTemplate to create a new one.
If creating a new SmartTemplate, complete the General Information section.
Click on Tagging, then click Edit.
The M365 document editor will open in a new tab.
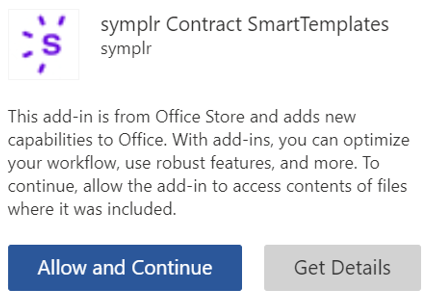
The first time you open the M365 document editor, you’ll need to accept our free add-in from Microsoft. In the symplr Contract SmartTemplates panel, click Allow and Continue.

Click the symplr tab, and then click Launch SmartTemplates to open the add-in.
Select system fields, custom fields, and approved language clauses to add to the template.
The list has type-ahead search capability.
Fields are sorted alphabetically.
When finished, close the document editing tab (but not the symplr Contract tab).
Your changes will be auto-saved.
Merging tags in a SmartTemplate
Only an Admin/Super Admin or the assigned Phase Owner/Mediator can merge SmartTags.
In a workflow, click on the tab of the document you want to merge
Click the Edit icon.
The Edit icon will only appear if it is your turn to edit the document.
The M365 document editor will open in a new tab.
The first time you open the M365 document editor, you’ll need to accept our free add-in from Microsoft. In the symplr Contract SmartTemplates panel, click Allow and Continue.
Click the symplr tab, and then click Launch SmartTemplates to open the add-in.
To merge all Smart Tags, click Merge all.
The list of smart tags will dynamically update, showing the status of each smart tag in alphabetical order.
Unmerged fields will appear as white text highlighted in dark red.
Merged fields will appear as black text highlighted in bright green.
If needed, click Undo merge to remove data from all smart tags.
When data is merged, it will be recorded in this format: Last merged MM/DD/YYYY H:MM AM or PM. If a user clicks Undo merge, then the record will be removed.
When finished, close the document editing tab (but not the symplr Contract tab).
Your changes will be auto-saved.
The updated document will appear in symplr Contract.
When you have completed merging and resolved all redlines, click Complete Phase.
